
A Guide to Selecting the Perfect Paint and Primer

Create Your Dream Home With Our Painting Experts
Fill the form below to book a free site evaluation by Nerolac Nxtgen painting Services expert
Painting is one of the most common ways to give your house a fresh look, and choosing the right paint and primer may really help you achieve a polished finish. However, selecting the best solution for your project might be overwhelming, given the abundance of options available on the market. So, in this post, we'll walk you through every step of choosing the ideal wood paint and primer for your home furniture.
Understanding Wood Finishing
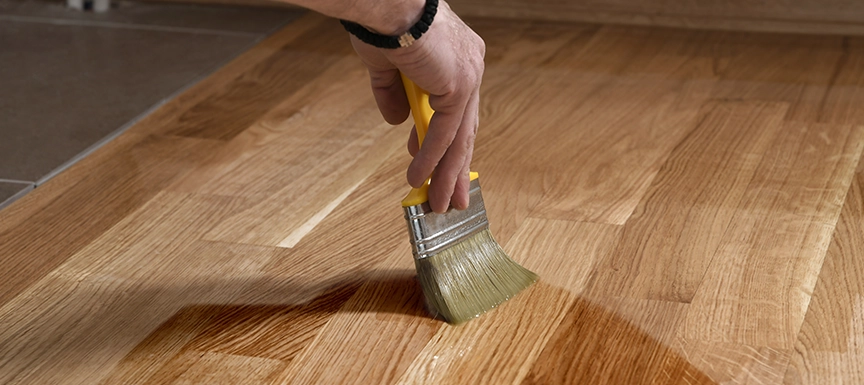
The procedure known as wood furniture finishes, or just wood finishes, was created to shield wooden objects and furniture from environmental deterioration. If the wood is not properly finished, it could dry out, crack, swell from moisture exposure, and decay. Though adding a protective coating in each type of wood finish's main objective, it can also enhance the wood's aesthetic appeal.
Experts always advise or demand finishing for timber pieces, whether they are new or old. Adding a wood finish is, therefore, one of the most important steps. Nonetheless, it typically raises the price of wood furniture.
Types of Paint for Wood
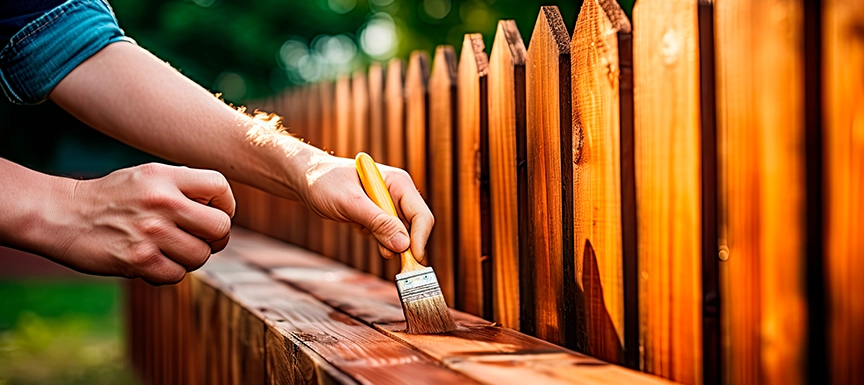
There are around 5 types of wood primer paint: -
1. Latex paint
This kind of paint is popular for interior walls because it is water-based and dries quickly. It is also very easy to clean with soap and water.
2. Oil-based paint
Often called alkyd paint, this kind of paint has a higher solids content, making the finish more durable. It is frequently applied to an external surface like trimmings and doors.
3. Acrylic paint
Nerolac Wonderwood Clear Acrylic Lacquer is a type of paint that is an amalgam of acrylic resins and water-based latex. It combines the best qualities of both paint types: it dries quickly, much like latex paint, and leaves an oil-based finish that is long-lasting.
4. Enamel paint
This kind of paint is frequently used on cabinets and furniture because of its high gloss finish. It is also resistant to stains, dampness, and scratches.
5. Chalk paint
Because of its matte finish and good adhesion to most surfaces without the need for priming or sanding, this kind of paint has become more and more popular in recent years.
Selecting the Right Primer
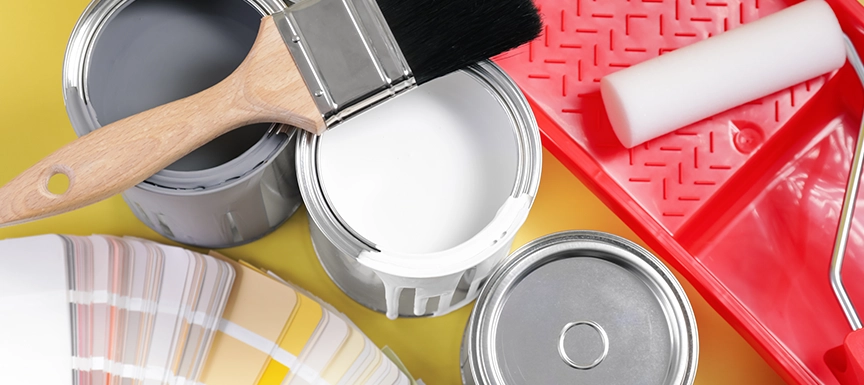
● Choose the kind of paint that you want to use: Prior to choosing a wood primer, it's critical to ascertain the paint type you will be using, as different wood primer kinds are made to function with different paint types.
● Think about the painting surface: Your choice of primer may also be influenced by the kind of surface you plan to paint. For instance, wood primer is the perfect choice if you are painting a wood surface.
● Seek for primers that have the ability to resist mildew: Mold and mildew growth can be inhibited when painting in regions with high humidity or moisture content by using a primer with anti-mildew characteristics.
● Think about the colour of your paint: It's crucial to select a tinted primer that closely matches the colour of your paint if you're applying light-coloured paint on a dark surface. This will aid in covering and stopping the black surface from being visible.
● Verify if there are any unique needs: A particular kind of primer may be needed for some surfaces, including metal or glossy surfaces, in order to guarantee good adhesion. The manufacturer's instructions should always be consulted before choosing a primer.
Also Read -What is Primer Paint?
Preparing the Wood Surface
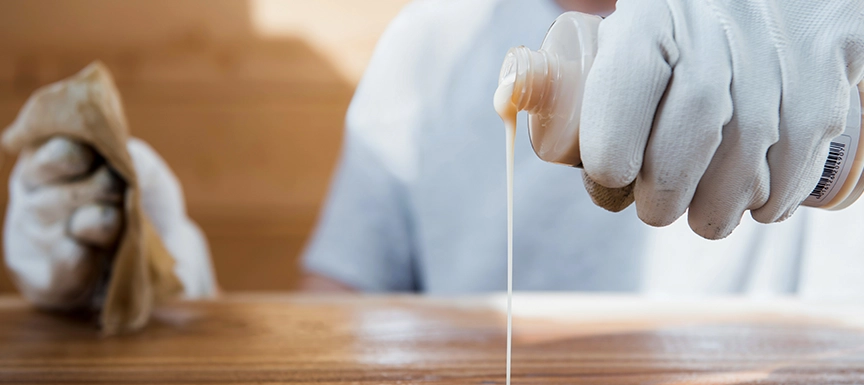
1. Clean the surface: Before painting, it's important to make sure the surface is clean and free of any dirt, dust, or debris. Use a mild detergent and water to wash the surface and let it dry completely before proceeding.
2. Sand the surface: Sanding can help smooth out imperfections and generate a better bonding surface for paint and primer. Use fine-grit sandpaper and work in the direction of the wood grain.
3. Fill any type of holes or imperfections: If there are any holes, cracks, or other imperfections on the surface, use a wood filler to fill them in. Once dry, sand again for a smooth finish.
4. Apply a coat of primer: After prepping the wood surface, apply a coat of primer using a brush or roller. Ensure to cover the entire surface evenly and allow it to dry before moving on to the next move.
Application Techniques
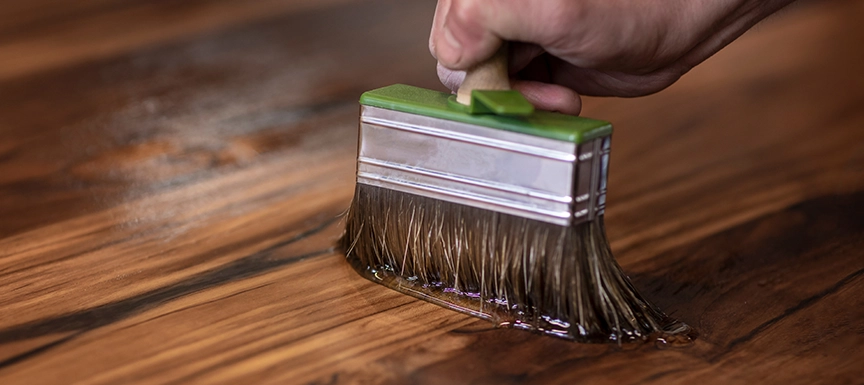
The way you apply paint on the wood surface can have a significant impact on the entire outcome of the project. Here are some tips for applying paint like a pro:
1. Use quality tools: Invest in high-quality brushes and rollers to ensure a smooth and even application of paint.
2. Work in small sections: For best results, work in small sections at a time to avoid the paint drying too quickly or becoming uneven.
3. Ensure to apply multiple coats: Depending on the type of paint you are using and the desired finish, you need to apply multiple coats for full coverage. Make sure you allow each and every coat of Nerolac Wonderwood Melmine to dry fully before applying the next.
4. Use even strokes: When using a brush, use long, even strokes in the same direction to create a smooth finish. For rollers, use a W-pattern or zig-zag motion for best results.
Troubleshooting Common Issues
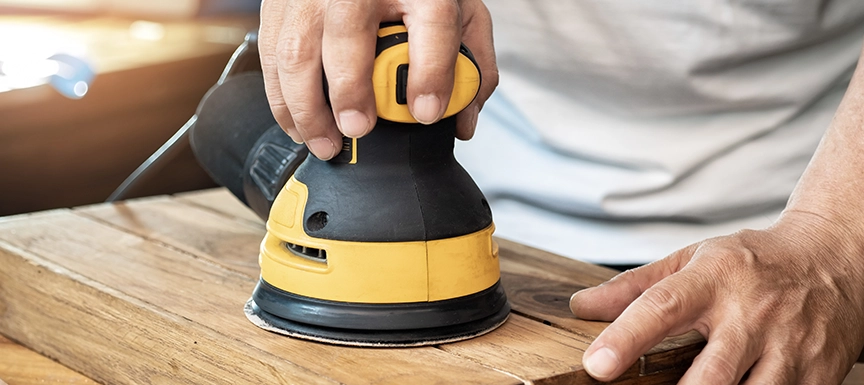
Even with proper preparation and application techniques, issues can still arise during the painting process. Here are some common problems and how to fix them:
1. Paint drips: To avoid paint drips, make sure to remove all the excess paint from the brush or roller before applying. If a drip does occur, wait for it to dry fully and sand it down before applying the next coat.
2. Uneven coverage: This can be caused by not using enough paint or not applying it evenly. Make sure to use enough paint and apply it evenly for best results.
3. Bleeding: If you are painting over a dark surface with light-coloured paint, the dark colour may show through. To avoid this, make sure to use a tinted primer or multiple coats of paint for full coverage.
Also Read - How to do Wall Painting Designs Yourself
Finishing Touches and Maintenance
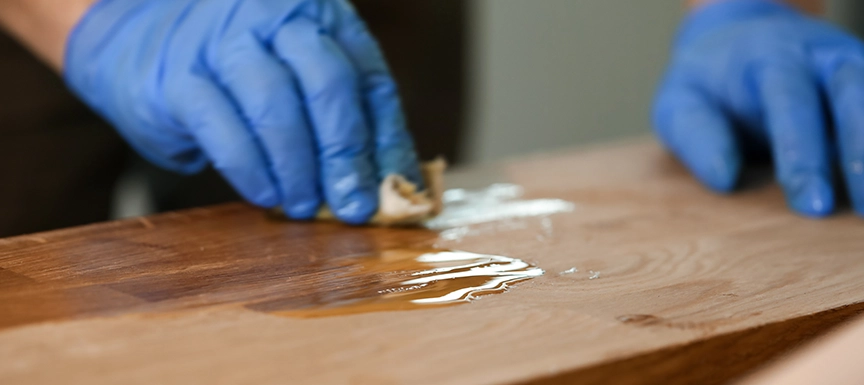
1. Sand and touch up: After the final coat of paint has dried, lightly sand any imperfections and touch up any areas that may need it.
2. Apply a topcoat: For added protection and durability, consider applying a topcoat to your painted surface. This will also add a glossy or matte finish, depending on your preference.
3. Clean up: Once you have finished painting, make sure to clean up any spills or drips with soap and water. Properly dispose of any used materials.
4. Enjoy your newly painted surface: Whether it's a freshly painted wall or a revamped piece of furniture, take a step back and admire your hard work! Your carefully selected paint and primer have helped create a wonderful and durable finish that will last for years.
Conclusion
Selecting the right primer is crucial for a successful paint project. It ensures proper adhesion, coverage, and durability of your chosen paint. Proper preparation and application techniques can also greatly impact the outcome of your project. And don't forget the finishing touches, such as sanding and topcoating, to achieve a professional-looking finish. With these tips in mind, you can confidently tackle any paint project with ease.
Nerolac Paints, a leading paint company in India offers a wide range of wall paint colours & painting services & solutions for homes & offices.
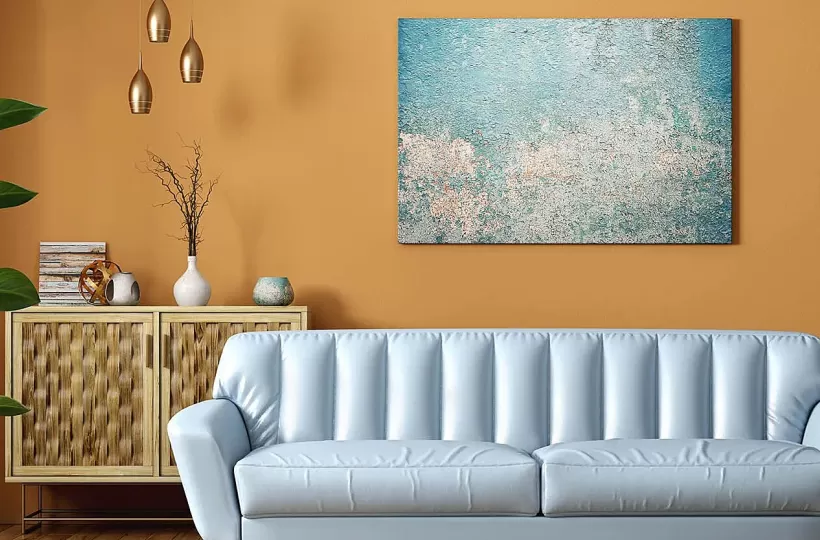
Colour Combination for Walls: 10 Beautiful House Colour Combination Ideas
A Guide To Trending Colour Combinations For Walls With Images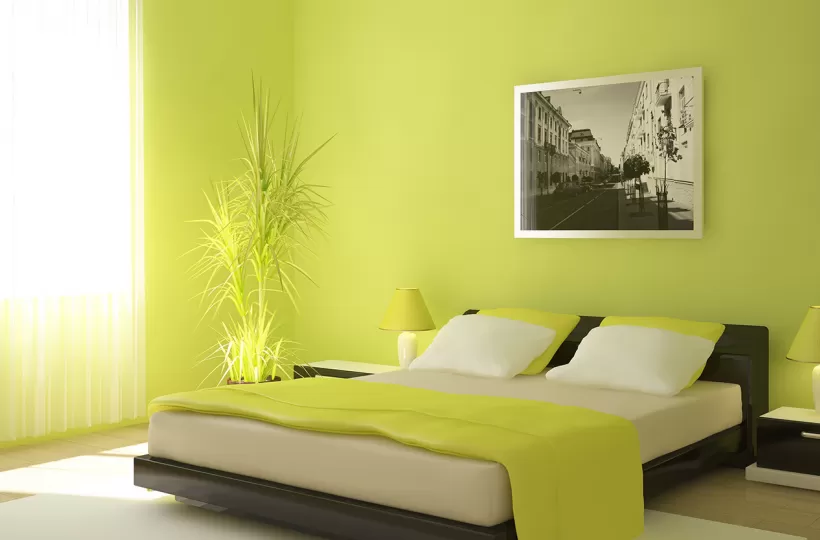
12 Stylish Green Colour Combinations and Photos
Green Colour Combinations
What Colours Match with Blue? 14 Colour Combinations with Blue for Your Home
Blue is a universally popular colour for décor and design
-
Recent Blogs
- Zodiac Sign Meanings: Choose Lucky Colours With Your Astrology Sign
- Top 10 Painting Ideas for North & South Facing House Vastu
- Top 10 Creative Wall Furnishing Ideas For Your Lovely Home
- Top 10 Mocha Mousse Colour Combinations and Photo Inspirations
- How Heat Resistant Paint for Roofs Can Reduce Your Indoor Temperature?
Get in Touch
Looking for something else? Drop your query and we will contact you.
Get in Touch
Looking for something else? Drop your query and we will contact you.
Popular Searches
Get in Touch
Looking for something else? Drop your query and we will contact you.


